WAITER ECC - TROUBLE SHOOTING
If the Control Module loses connection with the touch screen, its should re-establish the WiFi connection within 90 seconds. On rare occasion, the operator panel may not be able to reconnect. If this happens, reboot both the operator panel and the control module.
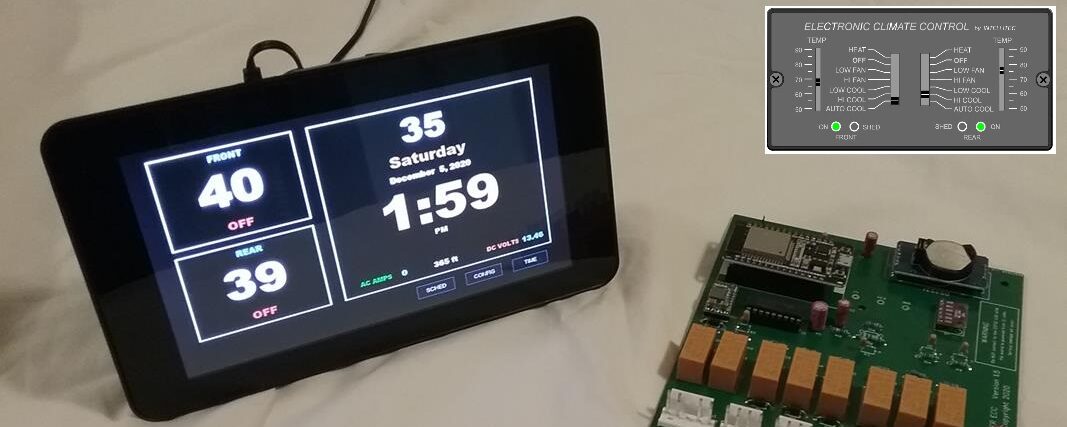
We highly recommend that both units be powered by the same 12 volt circuit, through the same ON/OFF switch.
The most common cause for losing connection is interference from a nearby wireless router or Wifi access point. Relocate your access point or router as far as possible from the Waiter ECC touchscreen and control module.
On occasion, the computer gets confused when it first boots up in a new area, so it’ll show the default Linux desktop screen instead of the Waiter ECC screen. This seems to happen if the unit has been powered down for any length of time or if its in a new WiFi environment where its scanning for WiFi networks and sees different networks.
Simply turn the power off for about 5 seconds then turn the power back on to force it to reboot again. This normally resolves the problem.
Contact us, we may be able to help walk you through a troubleshooting process, even if you’re still operating with the original Intellitec system. We often tell potential customers that the Waiter ECC system will not repair a faulty A/C unit.
Verify that you have 110 Volts to the A/C units, coach breakers, pedestal breakers, generator breakers, etc.
Do the blowers run if placed in FAN HI or FAN LO?
Verify the 120 volt circuit breakers in the motorhome are not popped (turn them off, then back on again)
If on shore power, verify the pedestal breaker isn’t popped. Do other appliances work.
If on generator power, verify that both 120 breakers on the generator or not popped.
If its just one A/C unit that doesn’t run but the other is OK, you can swap the FRONT / REAR plugs on the control module to see if the problem stays with the same unit. Don’t forget to switch them back.
The touchscreen operator panel should boot directly into the WaiterECC application without the user needing to enter anything.
However, on occasion, we’ve seen where the computer will get redirected and ask for the users password. If this happens, simply turn the unit OFF, wait five seconds, then turn it back on again. This will re-boot the computer and should resolve this problem.
If this doesn’t resolve the problem, contact us.
The blue LED illuminates when the controller isn’t reading one of the temperature sensors. This is more common during initial installation when the installer hasn’t yet configured the temperature sensors. The default configuration for the temperature source is 1 4 4. OAT = 1 (the electronic sensor), FRONT = 4 (the OEM thermistor plugged into touchscreen), and REAR = 4 (the OEM thermistor plugged into touchscreen)
If the OEM sensors are plugged into the 4 pin connector on the controller board (early versions of the Waiter ECC) then the configuration would be 1 0 0 . (0 says the OEM sensors are plugged into the contole board instead of the touchscreen.
If electronic sensors are used for the internal temperature sensors, then the addresses will need to be determined by trial and error. See the TECHNICAL MANUAL for how to determine the addresses.
If the configuration is correct yet the blue LED is lite, the faulty sensor should be displaying a “-99” on the temperature readout.
YES. As of version 4.3.0, you can tell the system to mark the FRONT or REAR sensor as bad and use the good sensor to control both the FRONT and the REAR units. To mark a sensor as BAD, go to the CONFIG screen, change bad sensors TEMP SOURCE setting to 99. The display for the temperature will change to a reddish color to remind you that the sensor was marked bad and the display will now show the temperature for the good sensor. We have new sensor kits available on our web site, CLICK HERE.
The original Intellitec temperature sensors (10k thermistor) are accurate and fairly reliable, however, we’ve seen where they do go bad. If either the FRONT or REAR temperature is showing a reading that’s way off or is displaying a -99. That sensor is probably bad. Look at the sensor, sometimes its a simple task of re-soldering the sensor element or even a broken wire. You can verify the sensor fault by switching the FRONT and REAR plugs on the back of the touchscreen. If you swap the plugs, give it a minute to update the temperature. The software has a built in delay if it thinks it seeing a faulty sensor.
If you have an OHM meter, you can check the resistance of the sensor. Unplug the sensors, the FRONT and REAR should read about the same. At 77Deg F, the resistance should be 10k ohms. You can DOWNLOAD a chart that shows the resistance to temperature.
When the display shows -99, this is an indication that there’s an error reading the temperature sensor.
Verify the configuration screen didn’t get changed. Specifically, look at the “TEMP SOURCE” settings. On very early model Waiter ECCs that have the FRONT and REAR sensors plugged into the control module, the “TEMP SOURCE” should be set at “1 0 0”. All newer Plug and Play versions that have the temp sensors plugged into the back of the touchscreen, the “TEMP SOURCE” should be set at “1 4 4”.
If its only one of the temperatures that display the -99, consider a bad sensor or broken wire. If its the FRONT or REAR, swap the plugs on the back of the touchscreen to see if the problem changes from front to rear.
If its the outside temperature, try resetting the three pin plug on the control module, visually inspect the sensor prob for damage.
If this is a new installation, then odds are very good you have the wrong kit. Older versions of the Intellitec ECC (Part numbers 00-003XX-XXX) used a 2.2k thermistor for the temperature sensor. Later models (part numbers 00-005XX-XXX and 00-008XX-XXX) and the Waiter ECC use a 10k thermistor temperature sensor. If the older sensors are installed, this will cause the readings to be abnormally high, i.e. 130 degrees instead of 70 degrees.
If you order the upgrade kit for the older version, we include new temperature sensors and connectors in the kit.
Contact us to verify the type system you have and to order the correct thermistor sensors.