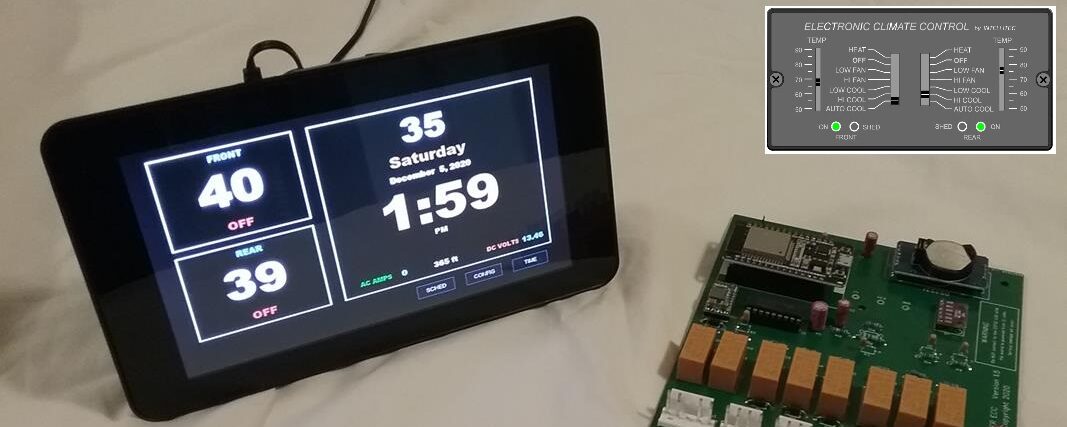
After a recommendation from one of our Beta testers, I’ve added 8 programmable schedule events (4 for the front and 4 for the rear).
Each of the events can be programmed with the MODE (HEAT, A/C, or disabled), the time for the event to happen in 15 minute increments, and the temperature set point.
 EXAMPLE: In the fall in Arizona, it can get cool at night, followed by hot during the day.
The 1st event is scheduled for 7:00 AM; The MODE is set to HEAT and the temperature set point is set to 70 degrees. We like to get out of bed with it nice and warm.
The 2nd event is scheduled for 10 AM, I set the front A/C unit to come on if it gets above 85 degrees. (NOTE – When using the Schedule, the A/C AUTO mode is used. This turns the blowers on/off automatically. We like to go out and visit during the day, but don’t like to come home to a motorhome that 100 degrees inside.
There isn’t any thing scheduled for the 3rd event (MODE = —-).
The 4th event happens at 11 PM, The MODE is switched back to HEAT and the temperature set point is set at 60 degrees. As we settle into bed for the night, the furnace is turned down to a comfortable 60 degrees.
 Note in the Front temperature window, in the lower left corner is a small white indicator. This shows that there is a schedule assigned for the front unit. Not there isn’t a schedule for the rear unit, so the little white indicators isn’t lite for the Rear unit.
The MODE and temperature set points are set when the clock equals the schedule time. If you manually change the mode or temperature afterwards, your settings will be in effect until the next scheduled event. The schedules are repeated daily. The little white indicator is a reminder that there are events scheduled for that day.
To call up the schedule, Click anywhere on the screen, the SCHED button (along with others) will appear on the bottom of the display. Click on the SCHED button.
At the top of the new window will show what schedule your looking at, the FRONT or the REAR. You can change by either tapping on the top of the display, or by tapping on the FRONT or REAR temperature windows.
To set a time, tap on tone of the four TIME display items. It will turn bright green to show which one is active. tap on the UP or DOWN buttons to change the time in 15 minute increments.
The same process sets the temperature set point.
To change the MODE, simply tap on the MODE item, it will toggle between “HEAT”, “A/C”, or “—-“. If the MODE is set to “—” , then it isn’t active.
If any setting has changed, the SAVE button will light to a dark green color. You must SAVE for your schedule to become active.
You can also copy your schedule to the other system, i.e if your programming the FRONT and want the exact (or similar) schedule on the rear unit, simply tap the “COPY” button. You can then view it by changing from FRONT to REAR,
Note that the SAVE button saves ALL schedules, even the ones you just copied.
